Pro Tips
**Chef's Tips & Troubleshooting:**
- Make sure the pan and oil are hot before adding ingredients for the best sear.
- Fry in batches to avoid overcrowding — lowering the temperature makes food greasy.
- For chicken stew, skim the foam that rises during the first boil for a cleaner broth.
- Brown the chicken skin-side down first over medium-high heat until golden and crisp.
Cooking Tips
Pat the meat completely dry with paper towels before frying — moisture is the enemy of crispiness. Use a thermometer to maintain oil temperature at 350–375°F (175–190°C). If the oil is too cool, the food absorbs grease; too hot and it burns on the outside before cooking through. Have all your ingredients prepped and measured before you start cooking — quick dishes leave no time for chopping mid-recipe.
Ingredient Substitutions
No soy sauce? Use tamari (gluten-free), coconut aminos (paleo-friendly), or a mix of fish sauce and water for a different but delicious umami profile. For a low-sodium version, use light soy sauce or dilute regular soy sauce with a splash of water or broth. Chicken alternatives: Pork shoulder or boneless thigh meat can substitute for chicken in stews. For lighter fare, extra-firm tofu or seitan works in stir-fries and braises. Short on time? A pressure cooker (Instant Pot) can reduce cooking time by roughly half for most braised and stewed Filipino dishes. Reduce liquid slightly since less evaporates.
Storage & Reheating
Store in an airtight container in the refrigerator for up to 3–4 days. The flavors often deepen overnight, making leftovers even more delicious. Crispy dishes are best enjoyed fresh — they lose their crunch when stored. If you must store leftovers, reheat in an air fryer or oven at 375°F (190°C) for 5–7 minutes to restore crispiness. Avoid microwaving crispy dishes — the steam makes the coating soggy. Use a toaster oven or stovetop skillet instead. Reheat on the stovetop over medium-low heat, adding a splash of water or broth if the sauce has thickened during storage. Microwave in 30-second bursts, stirring between each.

Fried Chicken Gizzard
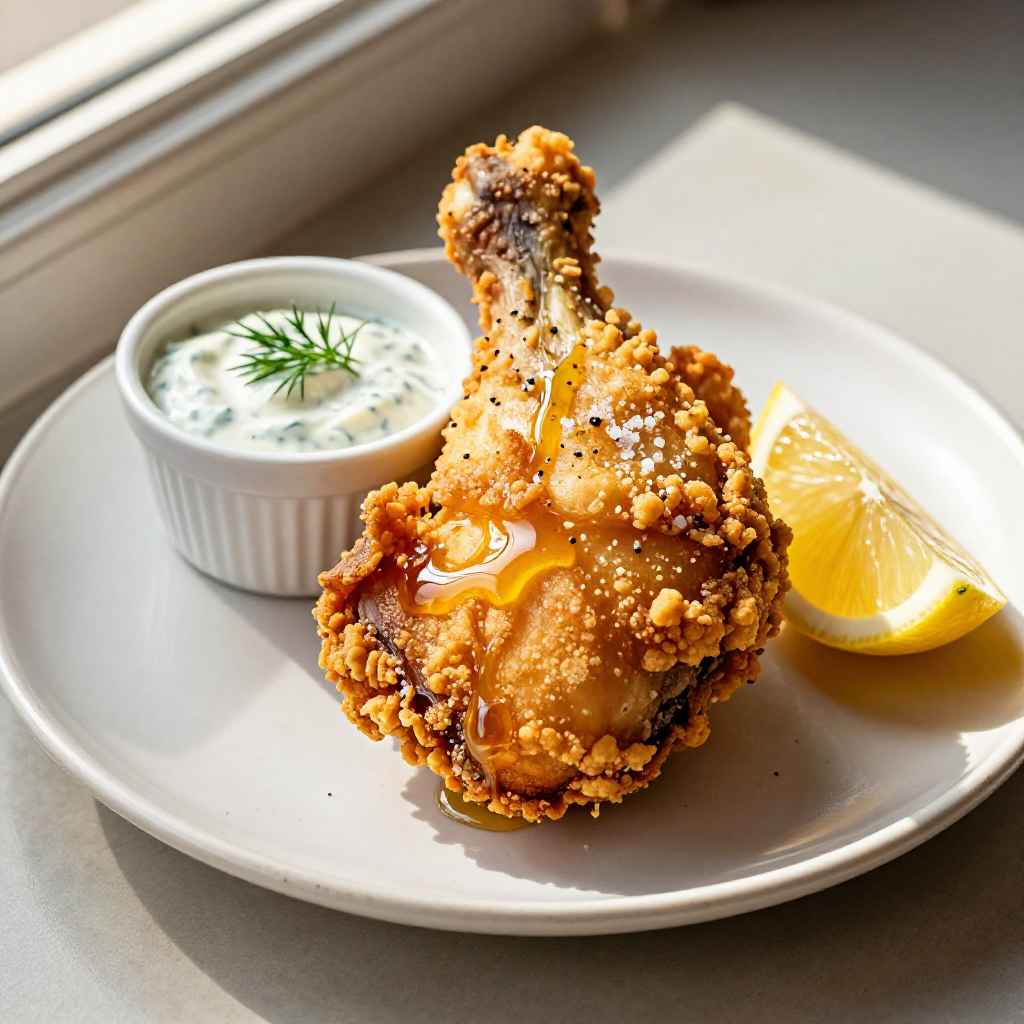
Fried chicken gizzard is a crispy, deeply savory dish made by marinating pre-boiled gizzards in soy sauce and spices, then coating them in a seasoned flour mixture and deep frying until golden. The boiling step ensures the gizzards are tender inside while the double coating of egg and flour gives each piece a satisfying crunch. Serve with your favorite dipping sauce for a great snack or appetizer.
Instructions
- Place the boiled chicken gizzards in a bowl. Add soy sauce, salt, garlic powder, and ground black pepper. Mix well to coat the gizzards evenly.
- Marinate the gizzards for at least 1 hour.
- Combine the flour and chili powder in a separate bowl. Mix well and set aside.
- Heat the cooking oil in a deep pot over medium-high heat.
- Dip each marinated chicken gizzard in the beaten eggs, then dredge in the flour mixture to coat thoroughly.
- Deep fry the coated gizzards until golden brown.
- Remove the fried gizzards from the pot and transfer to a plate lined with paper towels to absorb excess oil.
- Arrange on a serving plate and serve with your favorite dipping sauce.
Kitchen Tools We Recommend
Cook Fried Chicken Gizzard the easy way with the right tools. Shop our favorite kitchen essentials on Amazon — from reliable pots and pans to measuring tools that make Filipino cooking simpler.
🔥 Trending on Amazon right now — these products are selling fast. Check out what's climbing the charts.
As an Amazon Associate, I earn from qualifying purchases.
Pro Tips & Troubleshooting
- Make sure the pan and oil are hot before adding ingredients for the best sear.
- Fry in batches to avoid overcrowding — lowering the temperature makes food greasy.
- For chicken stew, skim the foam that rises during the first boil for a cleaner broth.
- Brown the chicken skin-side down first over medium-high heat until golden and crisp.
Cooking Tips
Use a thermometer to maintain oil temperature at 350–375°F (175–190°C). If the oil is too cool, the food absorbs grease; too hot and it burns on the outside before cooking through.
Have all your ingredients prepped and measured before you start cooking — quick dishes leave no time for chopping mid-recipe.
Substitutions
For a low-sodium version, use light soy sauce or dilute regular soy sauce with a splash of water or broth.
Chicken alternatives: Pork shoulder or boneless thigh meat can substitute for chicken in stews. For lighter fare, extra-firm tofu or seitan works in stir-fries and braises.
Short on time? A pressure cooker (Instant Pot) can reduce cooking time by roughly half for most braised and stewed Filipino dishes. Reduce liquid slightly since less evaporates.
Storage & Reheating
Crispy dishes are best enjoyed fresh — they lose their crunch when stored. If you must store leftovers, reheat in an air fryer or oven at 375°F (190°C) for 5–7 minutes to restore crispiness.
Avoid microwaving crispy dishes — the steam makes the coating soggy. Use a toaster oven or stovetop skillet instead.
Reheat on the stovetop over medium-low heat, adding a splash of water or broth if the sauce has thickened during storage. Microwave in 30-second bursts, stirring between each.
Comments (0)
Leave a comment